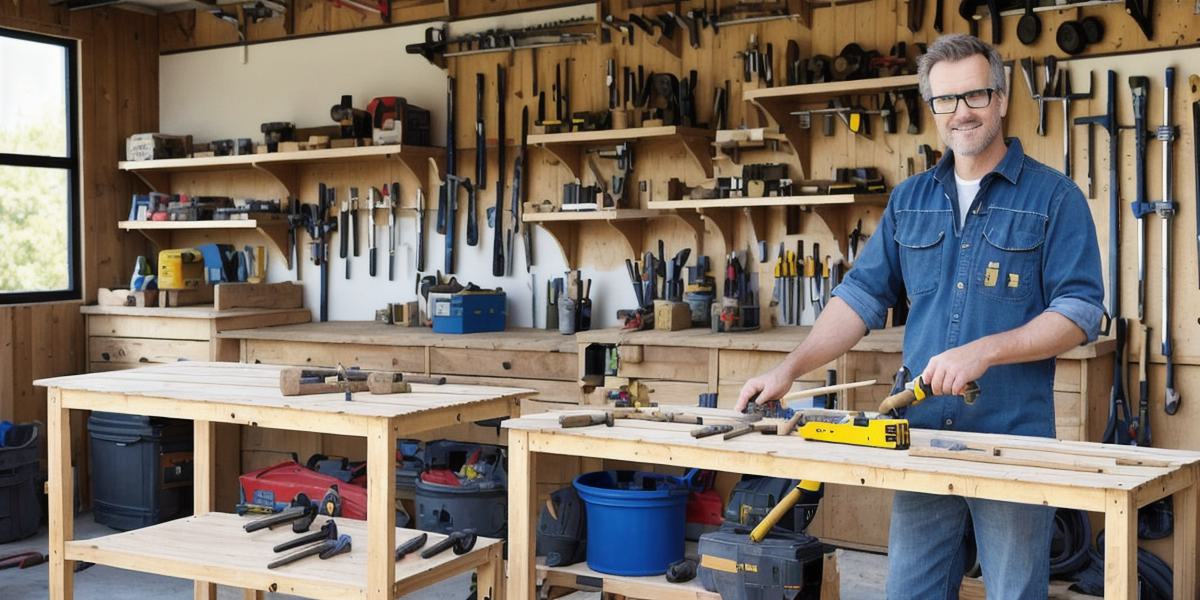
Building your own seats from scratch is a rewarding project that allows you to create furniture that fits your specific needs and preferences. Not only can it save you money, but it also gives you the opportunity to get creative with your design and materials. In this article, we will explore the steps required to build your own seats, provide tips and tricks for a successful project, and highlight real-life examples of successful seat building projects.
What You’ll Need:
Before starting your seat building project, make sure you have all the necessary materials on hand. Here is what you will need:
- Lumber (hardwood or softwood)
- Wood glue
- Screws and screwdrivers
- Sandpaper
- Paint or stain (optional)
- Saw (hand saw, miter saw, or circular saw)
- Measuring tape or ruler
- Level
- Marking pen or chalk
Steps to Build Your Own Seats:
Step 1: Determine the Type of Seat You Want to Build
The first step in building your own seats is to determine what type of seat you want to create. There are many different types of seats, including chairs, benches, stools, and more. Consider the purpose of the seat and the style you prefer. For example, if you’re building a chair, you may want to consider the height, depth, and angle of the backrest.
Step 2: Measure and Cut the Lumber
Once you have a design in mind, it’s time to start cutting the lumber. Use a measuring tape or ruler to measure out the length and width of each piece of wood needed for your seat. Then, use a saw to cut the lumber to the correct size. Be sure to mark your cuts with a marker or chalk so you don’t make any mistakes.
Step 3: Assemble the Seat Frame
Once all the pieces of lumber have been cut, it’s time to assemble the seat frame. Start by attaching the legs to the seat bottom using screws and wood glue. Use a level to ensure that the legs are straight and evenly spaced. Next, attach the backrest to the legs using screws and wood glue. Again, use a level to ensure that the backrest is straight and evenly spaced.
Step 4: Attach the Seat Cushioning
Once the seat frame has been assembled, it’s time to add the cushioning. There are many different types of cushioning materials you can use, including foam, fabric, or even bean bags. Cut the cushioning material to the correct size and attach it to the seat frame using screws and wood glue. Be sure to leave enough space for air to circulate between the cushioning and the frame to prevent moisture buildup.
Step 5: Sand and Finish the Seat
Once everything is assembled, it’s time to sand and finish the seat. Use sandpaper to smooth out any rough edges or splinters. Then, apply paint or stain to protect the wood from damage and give it a nice shine. Allow the paint or stain to dry completely before sitting on your new seat.
Tips for Building Your Own Seats:
- Always use high-quality lumber to ensure a sturdy and long-lasting seat.
- Don’t be afraid to get creative with your design – there are no hard and fast rules when it comes to building your own seats.
- Measure everything twice before cutting to avoid making mistakes.
- Use wood glue in addition to screws to strengthen the joints and ensure a secure connection.
- Sand thoroughly to prevent splinters and rough edges.
- Consider using waterproof paint or stain if you plan to use your seat outdoors.
Real-Life Examples of Successful Seat Building Projects:
There are many examples of successful seat building projects that can serve as inspiration for your own project. Here are a few examples:
- Custom Church Pews – Many churches have unique designs and styles for their pews, and building them from scratch allows for complete control over the look and feel of the pew. Whether you prefer a traditional design or something more modern, you can create a seat that fits your church’s aesthetic.
- Handmade Stools – Building your own stools is a great way to add character and individuality to your home. Whether you need stools for your kitchen or garden, building them from scratch can be a rewarding project that adds functionality and style to your space.
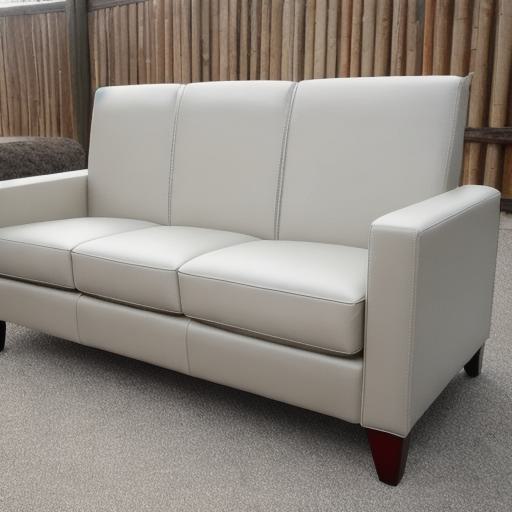
- Outdoor Furniture – Building outdoor furniture like chairs and benches can be a great way to spend time outside and enjoy the fresh air. With the right materials and tools, you can create a comfortable and stylish seat that will last for years to come.
- Therapeutic Seats – If you or someone you know needs a seat that is designed for comfort and support, building it from scratch can be a great way to ensure that the seat meets your specific needs. You can use materials like memory foam or gel cushioning to create a seat that provides maximum comfort and support.
Conclusion:
Building your own seats from scratch may seem daunting at first, but with the right materials and tools, it’s a fun and rewarding project that can save you money while allowing you to create a seat that’s tailored to your needs. With these steps and tips in mind, you’ll be well on your way to creating a comfortable and stylish seat that will last for years to come.