Have you ever wondered how to make your own G10 material at home? If so, then you’re in luck! In this article, we will provide a step-by-step guide on how to create your own G10 material, using only basic tools and materials that can be found at home.
What is G10 Material?
G10 material is a type of aluminum alloy that is commonly used in 3D printing because of its high strength-to-weight ratio and excellent machinability. It is made by combining aluminum, zinc, and other elements to create a unique alloy that has a number of useful properties.
Materials Needed
To make your own G10 material at home, you will need the following materials:
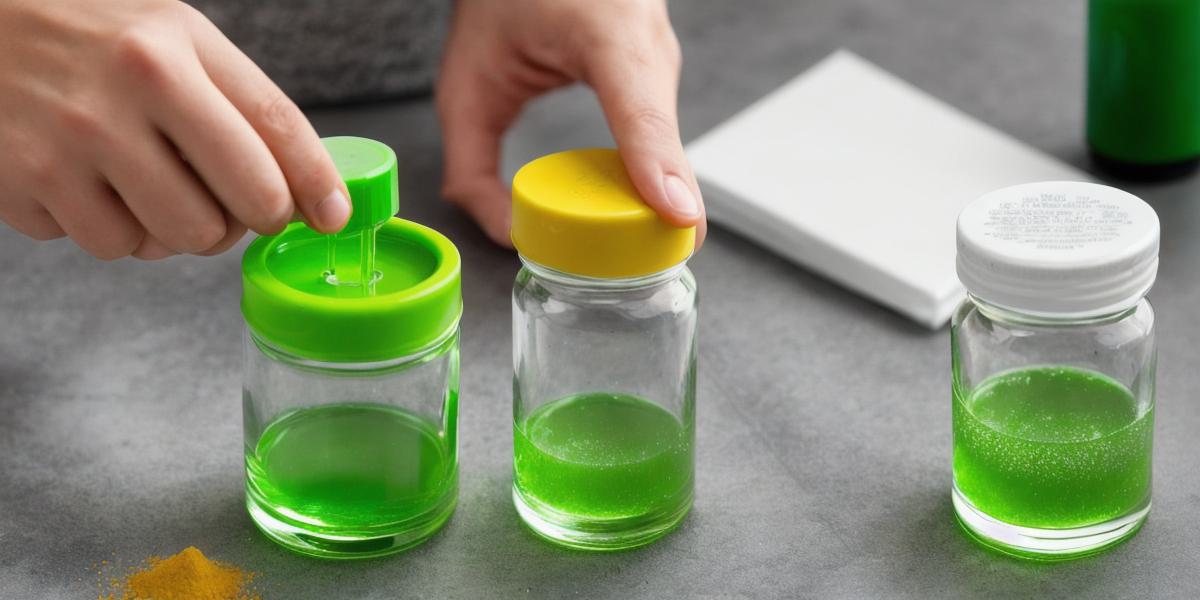
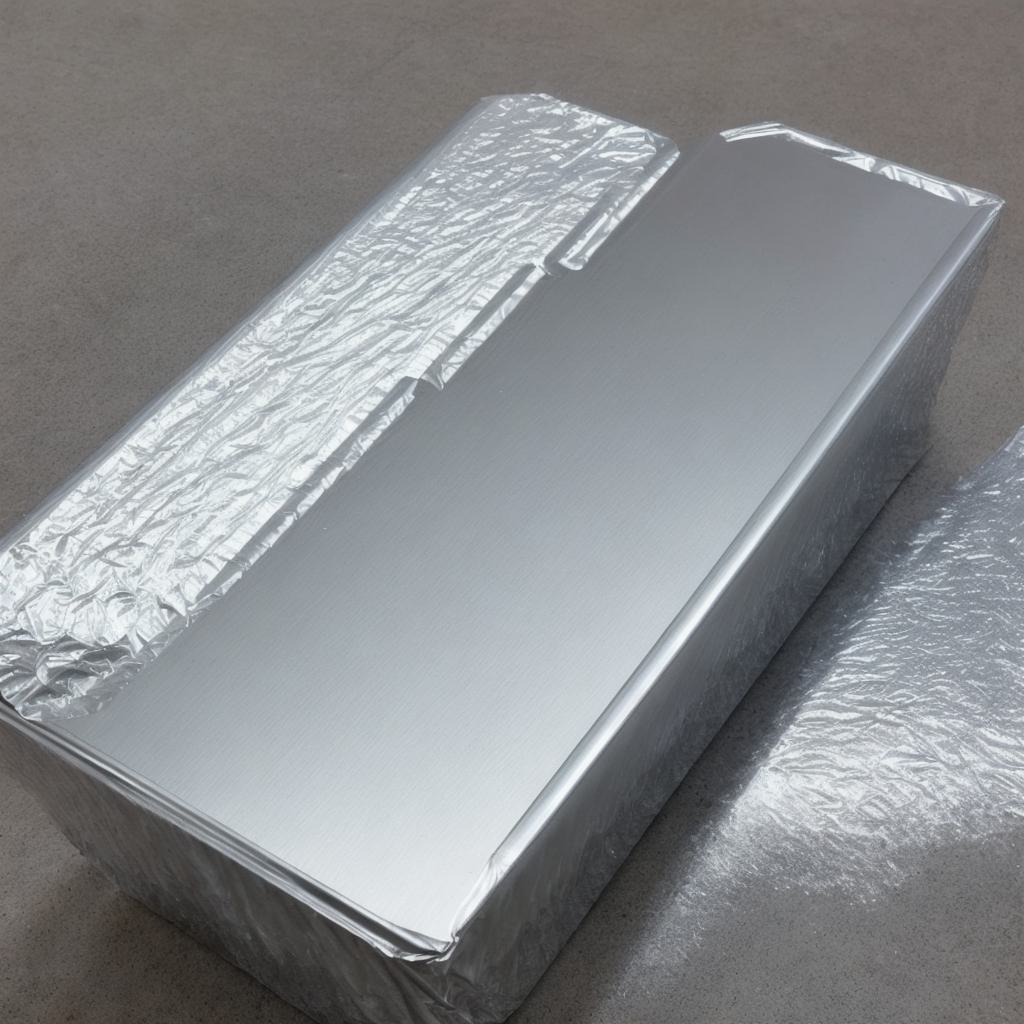
- Aluminum foil (or any lightweight metal)
- Zinc (or zinc oxide powder)
- Other elements such as magnesium or silicon
- A heat source (such as a soldering iron or torch)
- A mixing container
- A mold (optional)
Steps to Make Your Own G10 Material
Step 1: Gather your materials
Before you can start making your own G10 material, you will need to gather all of the necessary materials. This includes aluminum foil or another lightweight metal, zinc (or zinc oxide powder), and other elements such as magnesium or silicon. You will also need a heat source (such as a soldering iron or torch) and a mixing container.
Step 2: Mix the materials
Once you have gathered all of your materials, it’s time to mix them together. Begin by heating up the aluminum foil in your heat source until it starts to melt. Once it has melted, add the zinc and other elements to the container and mix well. Make sure that everything is evenly distributed.
Step 3: Pour into a mold (optional)
If you have a mold, now is the time to pour your mixture into it. If you don’t have a mold, you can simply pour it onto a flat surface and let it cool and harden.
Step 4: Cool and harden
Once your mixture has been poured, let it cool slowly in the mold or on a flat surface. This will allow it to harden and become solid. Depending on the size of your piece, this could take anywhere from a few hours to a couple of days.
Step 5: Test your G10 material
Once your G10 material has cooled and hardened, it’s time to test it out! Try cutting or drilling into it to see how well it performs. If it works as expected, then congratulations – you have successfully made your own G10 material at home!
Conclusion
Making your own G10 material at home is a fun and rewarding DIY project that anyone can do. With the right materials and tools, you can create a strong and durable alloy that is perfect for use in 3D printing or other applications.