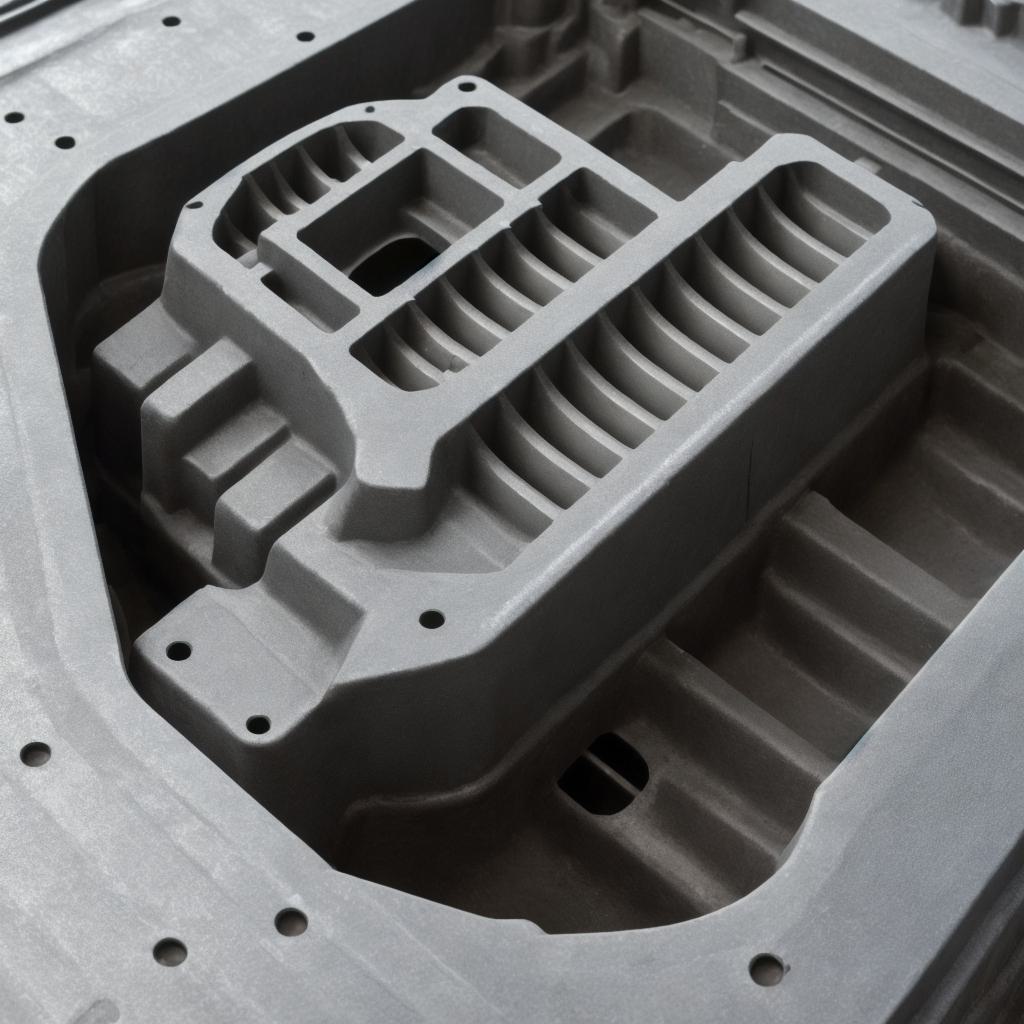
When it comes to customizing your vehicle, painting your engine block is an excellent way to add a personal touch. Not only does it give you the opportunity to showcase your creativity, but it can also improve the aesthetic appeal of your car’s interior. In this article, we will guide you through the process of painting your engine block and provide tips on how to optimize your work for maximum impact.
Before You Begin:
Before you start painting your engine block, there are a few things you need to know. First, make sure that your engine block is clean and free from debris. Any dirt or rust on the surface can interfere with the paint adhesion and cause uneven results. Second, choose a high-quality paint that is designed for use on metal surfaces. There are many options available on the market, so take the time to research the best one for your project.
Tools You Will Need:
To paint your engine block, you will need the following tools:
- A clean, dry workspace
- A high-quality paint designed for use on metal surfaces
- Paintbrushes in various sizes and shapes
- Painter’s tape
- Sandpaper or a sandblaster
- Primer (optional)
- Clear coat (optional)
Step 1: Prepare Your Engine Block
The first step in painting your engine block is to prepare it for the job. Start by removing any parts that are not covered in paint, such as valve covers or water pumps. Next, sand down any rough spots or imperfections on the surface of the engine block. This will ensure a smooth and even finish.
Step 2: Apply Primer (Optional)
If you want to ensure that your paint adheres well to the metal surface, consider applying a coat of primer. Primer helps to prepare the surface for paint by creating a smooth, even base for the paint to adhere to. To apply primer, use a brush or roller and follow the manufacturer’s instructions carefully.
Step 3: Apply Paint
When it comes time to paint your engine block, start with a light coat of paint. Use a paintbrush or roller, depending on the size of the area you are painting. Make sure to apply the paint evenly and avoid any drips or runs. Allow the first coat of paint to dry completely before applying a second coat.

Step 4: Add Finishing Touches
Once your engine block is painted, you can add finishing touches such as clear coat or additional color accents. Clear coat will help to protect your paint from scratches and wear, while additional color accents can add even more personalization to your engine block.
Tips for Maximum Impact:
To get the most out of your engine block painting project, consider these tips:
- Use a high-quality paint designed specifically for metal surfaces.
- Apply primer before painting to ensure a smooth, even finish.
- Experiment with different colors and designs to find the perfect look for your engine block.
- Take your time and be patient during the painting process. Rushing can lead to uneven results or mistakes.
- Consider adding additional accents, such as clear coat or additional color, to add extra impact.
Summary:
Painting your engine block is an excellent way to customize your vehicle and add a personal touch. With the right tools and techniques, you can create a stunning piece of art that will impress others and bring joy to yourself. So why not give it a try? You never know what kind of masterpiece you might create.


