When it comes to upgrading your vehicle’s appearance, one of the most popular modifications is adding fender welting. Not only does it give your car a sleek and stylish look, but it also helps protect your paint job from scratches and chips. However, installing fender welting can be a daunting task if you don’t know what you’re doing. In this article, we will provide you with a step-by-step guide on how to properly install fender welting on your vehicle.
Before we dive into the installation process, let’s first understand what fender welting is and why it’s important. Fender welting is a strip of metal that is placed along the bottom edge of your car’s fenders. This strip helps to protect your paint job from damage caused by debris on the road or other vehicles. Additionally, it can give your car a more aggressive and sporty look.
Now that we have an understanding of what fender welting is, let’s move on to the installation process. Here are the steps you need to follow:
Step 1: Gather Your Tools
Before you begin the installation process, make sure you have all the necessary tools. This includes a drill, screwdrivers, a saw or scissors to cut the fender welting to size, and a level to ensure that the strip is straight. You may also want to wear gloves to protect your hands from any sharp metal edges.
Step 2: Clean Your Fenders

Before installing the fender welting, it’s important to clean your fenders thoroughly. This will help ensure that the strip adheres to the surface properly and looks its best. Use a mild soap and water solution to clean your fenders, then dry them completely with a clean towel.
Step 3: Cut the Fender Welting to Size
Using a saw or scissors, cut the fender welting to size. Make sure that it is long enough to reach from one end of the fender to the other and that it is wide enough to cover the entire bottom edge of the fender. If you’re not sure how much to cut, it’s better to err on the side of caution and have a little extra welting left over than to run out in the middle of the installation process.
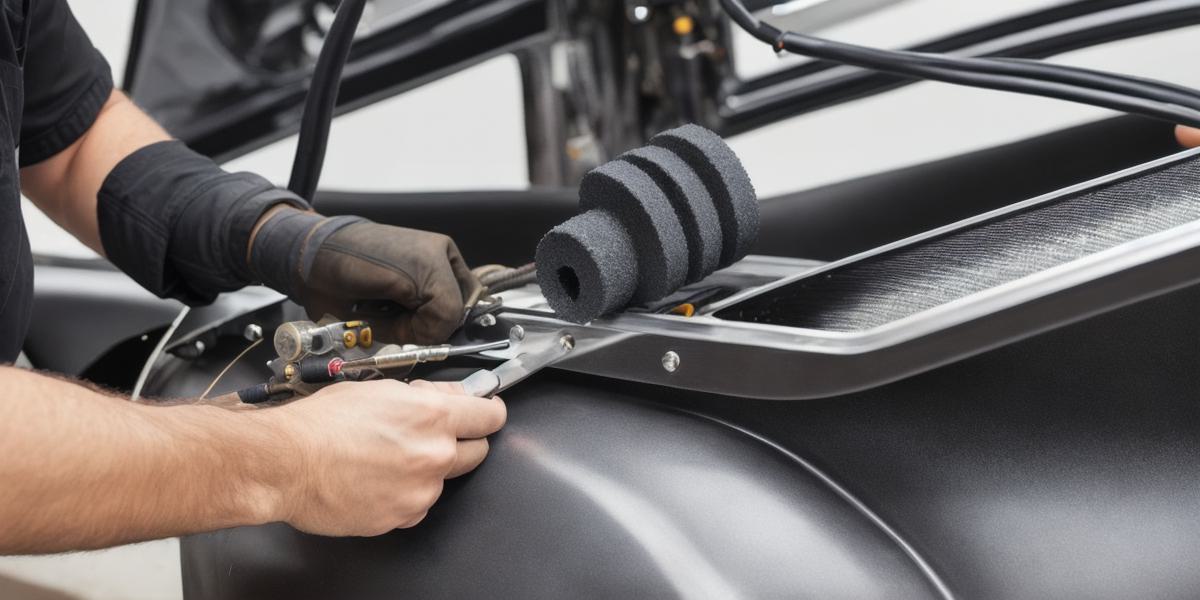
Step 4: Install the Fender Welting
Once you’ve cut the fender welting to size, it’s time to install it. Start by holding one end of the strip up to the bottom edge of your fender and marking where it meets the fender with a pencil. Then, use a drill to create three small holes along the length of the strip, spacing them about 1-2 inches apart. This will allow you to secure the strip to the fender using screws.
Next, insert the screws into the holes and tighten them with a screwdriver. Make sure that the screws are tight enough to hold the strip in place but not so tight that they damage the fender or strip. Once you’ve secured one end of the strip, move on to the other end and repeat the process.