Manual roller shutters are a popular choice for homeowners and commercial property owners alike due to their affordability, durability, and ease of use. However, like any mechanical device, manual roller shutters can break down over time and require repairs to maintain optimal performance and functionality. In this comprehensive guide, we will provide you with step-by-step instructions on how to repair your manual roller shutters on your own.
Before You Begin: Understanding the Basics of Manual Roller Shutters
Manual roller shutters are a type of window covering that is operated by a manually cranked handle, rather than electronically. They come in a variety of styles and designs, from traditional aluminum and steel to more modern materials like PVC and vinyl. Manual roller shutters can provide privacy, control light and temperature, and add aesthetic appeal to your windows.
To repair your manual roller shutters, you will need the following tools:
- A crank handle or manual winder
- A Phillips-head screwdriver
- A flat-head screwdriver
- A slotted screwdriver
- A hammer or mallet
- A pair of pliers
- Replacement parts (such as cables, bearings, and springs)
You should also be familiar with the basic components of a manual roller shutter, including the motor, tracks, guide rails, and brackets.
Step 1: Identify the Problem
The first step in repairing your manual roller shutters is to identify the problem. Common issues include a slipping track, jammed mechanism, or broken cable. To do this, try operating the shutter manually and observe its movement. If you notice any resistance or grinding noises, it may be due to a stuck track or loose bearing. If the mechanism seems to be jammed, it could be caused by a broken cable or faulty bracket.
Step 2: Remove the Cover Panel
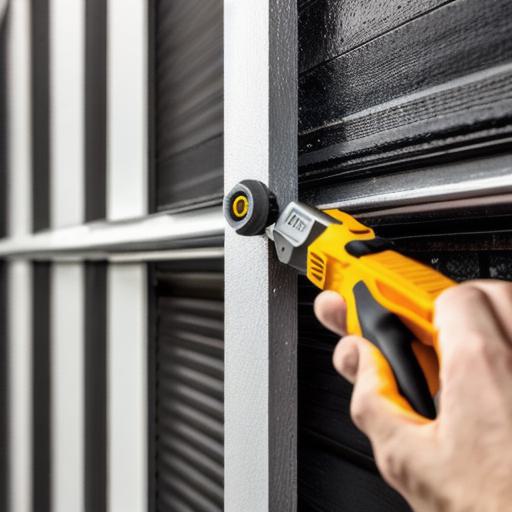
Before you can begin repairs, you will need to remove the cover panel from your manual roller shutters. This is typically done by unscrewing the brackets that hold it in place and gently pulling it off. Be sure to set the cover panel aside, as you may need to replace it later if the damage extends beyond the track or guides.
Step 3: Disassemble the Shutter

Once the cover panel is removed, disassemble the manual roller shutter by removing the brackets and tracks that connect the motor to the guide rails. This will allow you to access the internal components of the shutter and make repairs as necessary.
Step 4: Fix a Slipping Track
If your manual roller shutters have a slipping track, it is likely due to loose bearings or damaged guides. To fix this issue, first clean the tracks thoroughly with a dry cloth or brush to remove any debris or buildup. Next, use a Phillips-head screwdriver to tighten the screws that hold the guides in place and ensure they are securely fastened. If the guides are still loose, you may need to replace them with new ones.
Step 5: Replace a Broken Cable
If your manual roller shutters have a broken cable, it is important to replace it immediately to prevent further damage to the track and guide rails. To do this, first disconnect the old cable from the motor and guide rail using a slotted screwdriver. Then, remove the old cable from the track by gently pulling it out while holding onto the end of the cable. Once the old cable is removed, insert the new one into the track and secure it with the screws that were previously used to hold the old cable in place.
Step 6: Adjust the Motor
If your manual roller shutters are not functioning properly, it may be necessary to adjust the motor. To do this, use a Phillips-head screwdriver to remove the cover plate on the motor and access the adjustment screws. Turn the adjustment screws as needed to fine-tune the tension of the cables and ensure smooth operation.


