If you’re looking for a way to make your gift stand out from the rest, consider wrapping art. Not only does it add a personal touch to your present, but it also protects delicate and fragile artwork. Here’s a step-by-step guide on how to wrap art as a thoughtful and unique gift:
Why Wrap Art as a Gift?
There are several reasons why wrapping art as a gift is essential:
- Personalization: A well-wrapped gift shows thought and effort, making the recipient feel valued and appreciated.
- Protection: Art can be fragile and delicate, so proper wrapping ensures it arrives safely at its destination.
- Festive touch: Wrapping art adds a festive touch to any occasion, adding a personal touch that elevates your gift from ordinary to extraordinary.
How to Wrap Art as a Gift: Step-by-Step Guide
Before you get started, make sure you have the following materials:
- Wrapping paper or fabric
- Ribbons or bows
- Scissors
- Tape measure
- Pencil or pen
- Box or container to hold the artwork
Step 1: Measure and Cut the Wrapping Paper
Measure your artwork’s height and use a general rule of thumb to determine the amount of wrapping paper you need. For example, if your artwork is 12 inches tall, use two to three inches of wrapping paper for every inch of height.
Step 2: Fold the Wrapping Paper
Once you’ve cut the wrapping paper, fold it in half horizontally and vertically so that the edges meet in the middle. This will create a neat rectangle that is easy to work with.
Step 3: Add the Artwork
Place your artwork into the center of the folded wrapping paper. If you’re wrapping a painting or print, secure it to a board or backing to prevent damage during shipping.
Step 4: Fold the Wrapping Paper Around the Artwork
Now that your artwork is in place, fold the wrapping paper around it so that it completely covers the edges of the painting or print. Be sure there are no gaps or wrinkles in the wrapping paper.
Step 5: Secure the Wrapping Paper

Use tape to secure the wrapping paper to the backside of the artwork, making sure it’s tight and smooth. Avoid using too much tape, as this can damage the artwork.
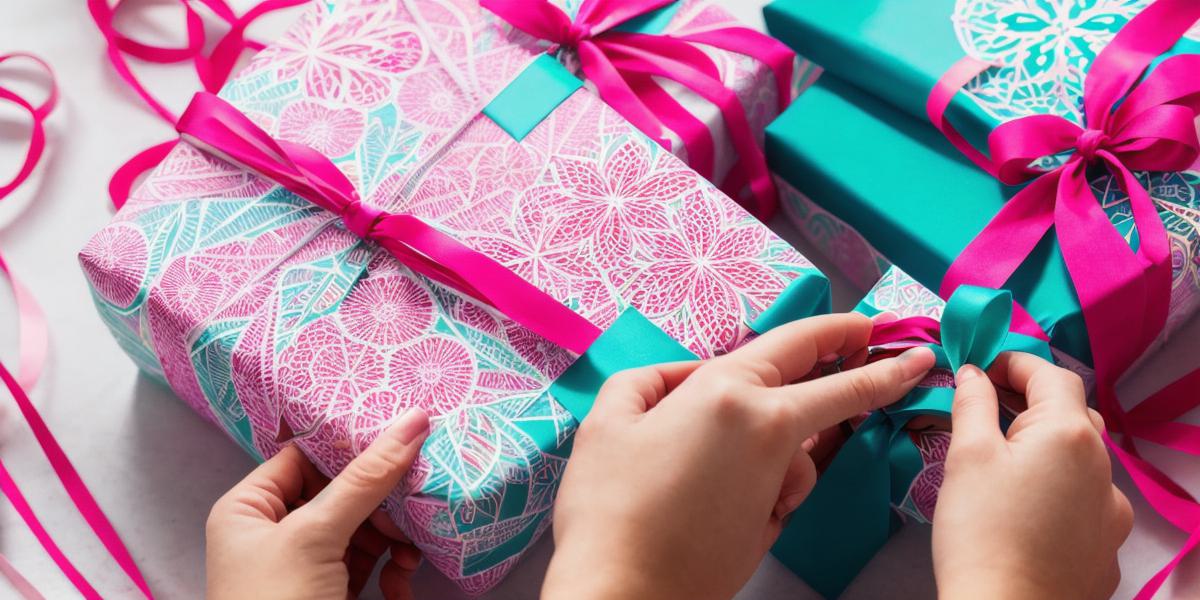
Step 6: Add Ribbons or Bows
Finally, add ribbons or bows to the top of the wrapping paper for a finishing touch. You can also add other decorative elements like confetti, pom-poms, or ribbons to make your gift even more festive.
Expert Tips and Tricks
Here are some expert tips and tricks to help you wrap art as a gift:
- Use high-quality wrapping paper that is durable and resistant to moisture. This will ensure the artwork arrives safely at its destination.
- If your artwork has text or delicate elements, use a soft brush to gently remove any dirt or debris before wrapping it.
- When shipping the artwork, make sure to pack it in a sturdy box with bubble wrap and other protective materials to prevent damage during transit.
- Consider adding a personalized note or message to your gift to make it even more special for the recipient.
FAQs
- What type of wrapping paper should I use for art?
Use high-quality wrapping paper that is durable and resistant to moisture, avoiding thin or fragile paper. - How do I protect the artwork during shipping?
Pack the artwork in a sturdy box with bubble wrap and other protective materials to prevent damage during transit.