Cupolas and weathervanes are not only eye-catching decorative elements but also functional additions to your property. They can enhance the aesthetic appeal of your home or business while providing protection from weather elements. In this article, we will discuss how to install cupolas and weathervanes on your property effectively.
Before Installing Cupolas and Weathervanes: Understanding Their Functionality
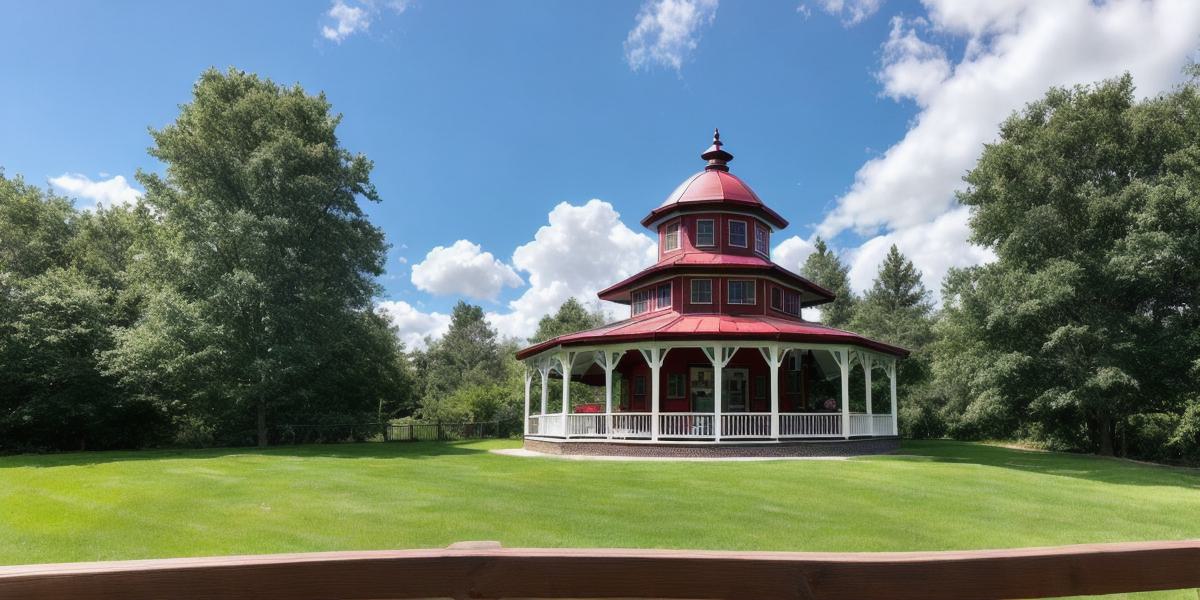
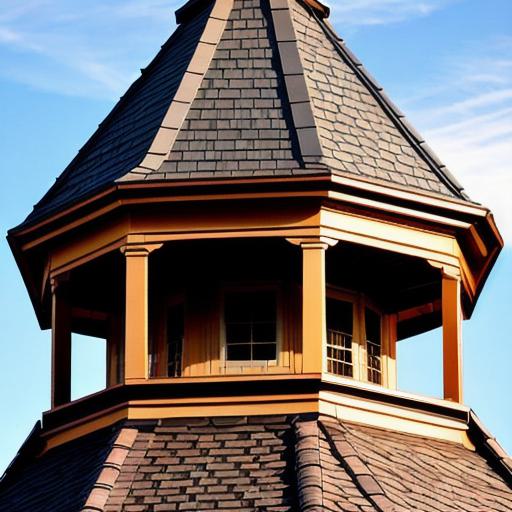
Cupolas and weathervanes are designed to withstand harsh weather conditions. They are built using high-quality materials that are resistant to wind, snow, and ice. A cupola is a small tower with an opening at the top, while a weathervane is a decorative figure mounted on a pole that points in the direction of the wind. Both of these elements have been used for centuries as weather indicators and to protect buildings from water damage.
Installing Cupolas and Weathervanes: Step-by-Step Guide
Step 1: Choose the Right Location
Before installing cupolas and weathervanes, it’s crucial to choose the right location. They should be installed in a spot where they can receive direct sunlight and ventilation while being protected from harsh weather conditions. Ideally, they should be placed on a building or structure that is at least 20 feet high.
Step 2: Gather Materials
Before installing cupolas and weathervanes, it’s important to gather all the necessary materials. This includes the cupola or weathervane itself, mounting hardware, screws, bolts, and a level. It’s also essential to choose the right type of material for your cupola or weathervane based on your location and climate.
Step 3: Install the Mounting Hardware
The next step is to install the mounting hardware. This involves securing the cupola or weathervane to the building or structure using screws and bolts. It’s essential to use high-quality hardware that can withstand harsh weather conditions.
Step 4: Position the Cupola or Weathervane
After installing the mounting hardware, it’s time to position the cupola or weathervane. Use a level to ensure that it’s positioned correctly and aligned with the direction of the wind. It’s also essential to use a strong rope to secure the cupola or weathervane in place during installation.
Step 5: Install the Weather Vanes
Weather vanes are typically installed on top of the cupola or weathervane. These vanes come in various shapes and sizes, so it’s important to choose one that complements the design of your cupola or weathervane.
Step 6: Secure the Weather Vanes
Once the weather vanes are installed, it’s important to secure them in place using screws and bolts. It’s essential to use high-quality hardware that can withstand harsh weather conditions.
Conclusion
Installing cupolas and weathervanes on your property can enhance its aesthetic appeal while providing protection from weather elements. By following the steps outlined above, you can effectively install these decorative elements on your property. Remember to choose the right location, gather the necessary materials, install the mounting hardware, position the cupola or weathervane, install the weather vanes, and secure them in place using high-quality hardware. With these tips, you can create a beautiful and functional addition to your property that will last for years to come.