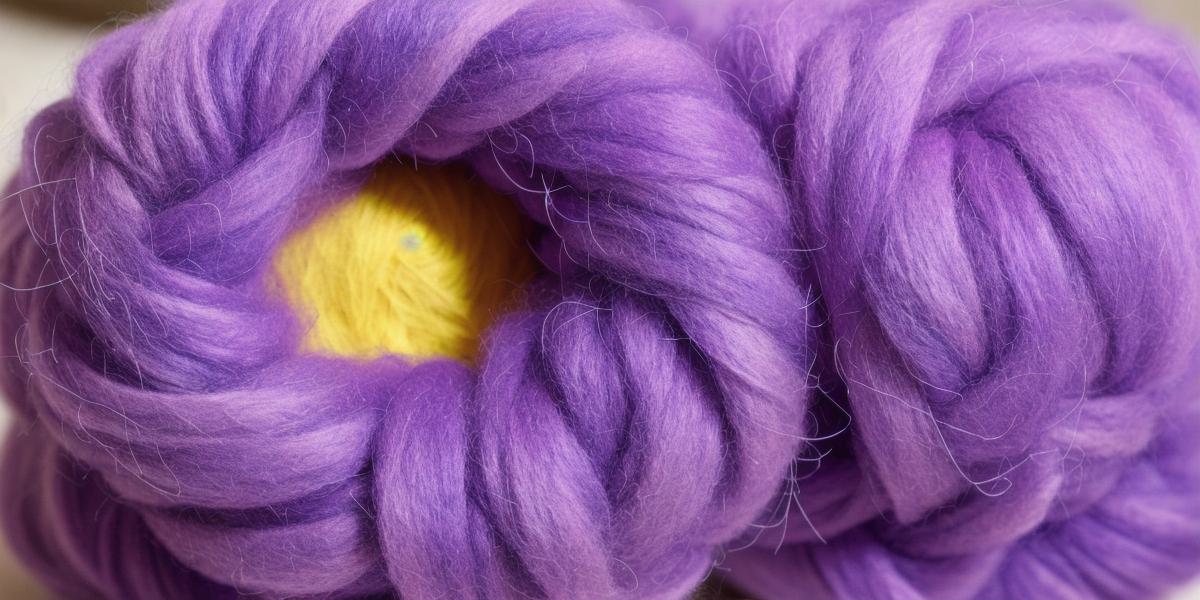
Dying felt is a fun and creative way to add some color and personality to your craft projects. Whether you’re looking to dye your felt for a specific project or just want to experiment with different colors, this guide will walk you through the process step-by-step. In this article, we’ll cover everything from materials to techniques, so you can create stunning results every time.
Materials Needed:
Before you start dyeing your felt, there are a few essential materials you’ll need:
- Felt – Choose a type of felt that is suitable for dyeing, such as wool or synthetic felt.
- Dyes – There are many different types of dyes available, including natural, synthetic, and even plant-based dyes.
- Dye fixative – This is a chemical that helps the dye adhere to the felt and prevents it from fading over time.
- Gloves – Wearing gloves will protect your hands from the dye and any chemicals you may be using.
- A large pot or vat – You’ll need a container large enough to hold your felt and dye.
- Water – You’ll need water to dilute the dye and help it adhere to the felt.
- Stir stick – This will help you mix the dye and water together evenly.
- Tongs – These will help you remove the felt from the dye bath without getting it tangled up.
- Towels – You’ll need towels to dry your dyed felt after it has been removed from the dye bath.
- Dyeing gloves – If you are using harsh chemicals in your dyeing process, it is important to use specialized gloves that are designed to protect your skin.
Steps to Dye Felt:
Now that you have all of the materials you need, let’s get started on the dyeing process!
- Prepare your felt – Before you start dyeing, it’s important to prepare your felt by washing it thoroughly in warm water with mild detergent. This will help remove any dirt or oils that may interfere with the dyeing process.

- Dilute your dye – Depending on the type of dye you’re using, you may need to dilute it with water before you start dyeing. Follow the manufacturer’s instructions carefully to ensure that you have the right concentration.
- Add the felt to the dye bath – Once your dye is diluted, add your felt to the dye bath. Make sure that the felt is fully submerged and stir it gently with a stick to ensure even coloring.
- Let it soak – Depending on the type of dye you’re using, let the felt soak for anywhere from 30 minutes to several hours. Follow the manufacturer’s instructions carefully to ensure that you get the right color and shade.
- Remove the felt from the dye bath – Once your felt has reached the desired color, remove it from the dye bath using tongs. Be careful not to rinse the felt until you’re ready to wash it thoroughly in warm water with mild detergent.
- Apply the dye fixative – To help the dye adhere to the felt and prevent it from fading over time, apply a coat of dye fixative to your dyed felt. Follow the manufacturer’s instructions carefully to ensure that you apply the fixative evenly.


