If you’ve decided to move your backyard playground, congratulations! Whether it’s because you need more space for other activities or simply want to switch things up, this is an exciting opportunity to create a new and improved play area for your family. However, moving a playground can be a daunting task, especially if you’re not sure where to start.
To help make the process as smooth and safe as possible, here are some tips and tricks to keep in mind when moving a backyard playground:

Step 1: Assess the Current Location
Before you begin, it’s important to assess the current location of your playground. This includes taking into consideration the size and layout of your yard, any nearby structures or trees, and any potential hazards such as power lines or gas lines. Once you have a good understanding of the current location, you can start planning the new location and layout.
Step 2: Choose a New Location
Once you’ve assessed the current location, it’s time to choose a new one. Consider factors such as sunlight exposure, accessibility, and proximity to other areas of your yard. Make sure that the new location is safe and free from potential hazards.
Step 3: Gather the Right Tools and Equipment
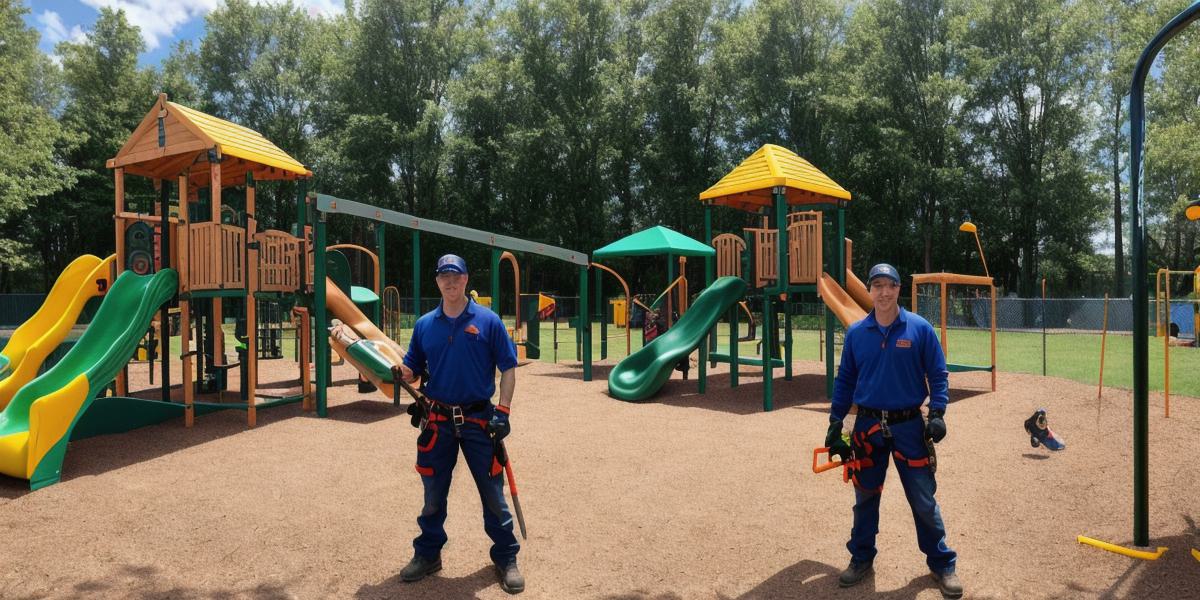
Before you start moving the playground, make sure that you have all of the necessary tools and equipment on hand. This includes a wheelbarrow or dolly, a drill, a screwdriver set, a wrench set, and any other tools required to disassemble the playground.
Step 4: Disassemble the Playground
Once you’ve gathered all of the necessary tools and equipment, it’s time to disassemble the playground. This will depend on the type of playground you have, but most playgrounds can be easily disassembled by removing bolts and screws. Be sure to keep track of all the parts and hardware so that you can put everything back together in the same order.
Step 5: Move the Playground
With the playground disassembled, it’s time to move it to the new location. This is where things get a little tricky. Depending on the size of the playground and your yard, you may need help from another person or even a professional mover. Use caution when moving heavy objects and always follow proper lifting techniques to avoid injury.
Step 6: Reassemble the Playground
Once you’ve moved the playground to the new location, it’s time to reassemble everything. Again, be sure to keep track of all the parts and hardware so that you can put everything back together in the same order. Once everything is assembled, take a moment to check for any loose screws or bolts and tighten them as needed.
Step 7: Test Out the New Playground
Finally, it’s time to test out the new playground! Make sure that everything is level and stable, and that there are no sharp edges or hazards. Once you’re satisfied that everything is safe and secure, your family can enjoy their new playground and make some great memories.
Moving a backyard playground can be a daunting task, but with the right tools, equipment, and planning, it can be done safely and efficiently. By following these steps, you can create a fun and safe play area for your family that will provide hours of enjoyment for years to come.


