Weather vanes have been around for centuries, adding charm and character to homes and buildings alike. But with so many styles, sizes, and materials to choose from, installing a weathervane can be a daunting task. In this guide, we’ll walk you through the process of installing a weathervane, from selecting the right style to choosing the perfect location.
- Select the Right Style
The first step in installing a weathervane is to choose the right style. Weather vanes come in a variety of shapes and sizes, including traditional round or flat tops, animal figures, and even modern abstract designs. Consider the style of your home and the overall aesthetic you want to achieve when selecting a weathervane. If you’re not sure where to start, consult with a professional weathervane installer or do some research online to find inspiration.
- Choose the Perfect Location
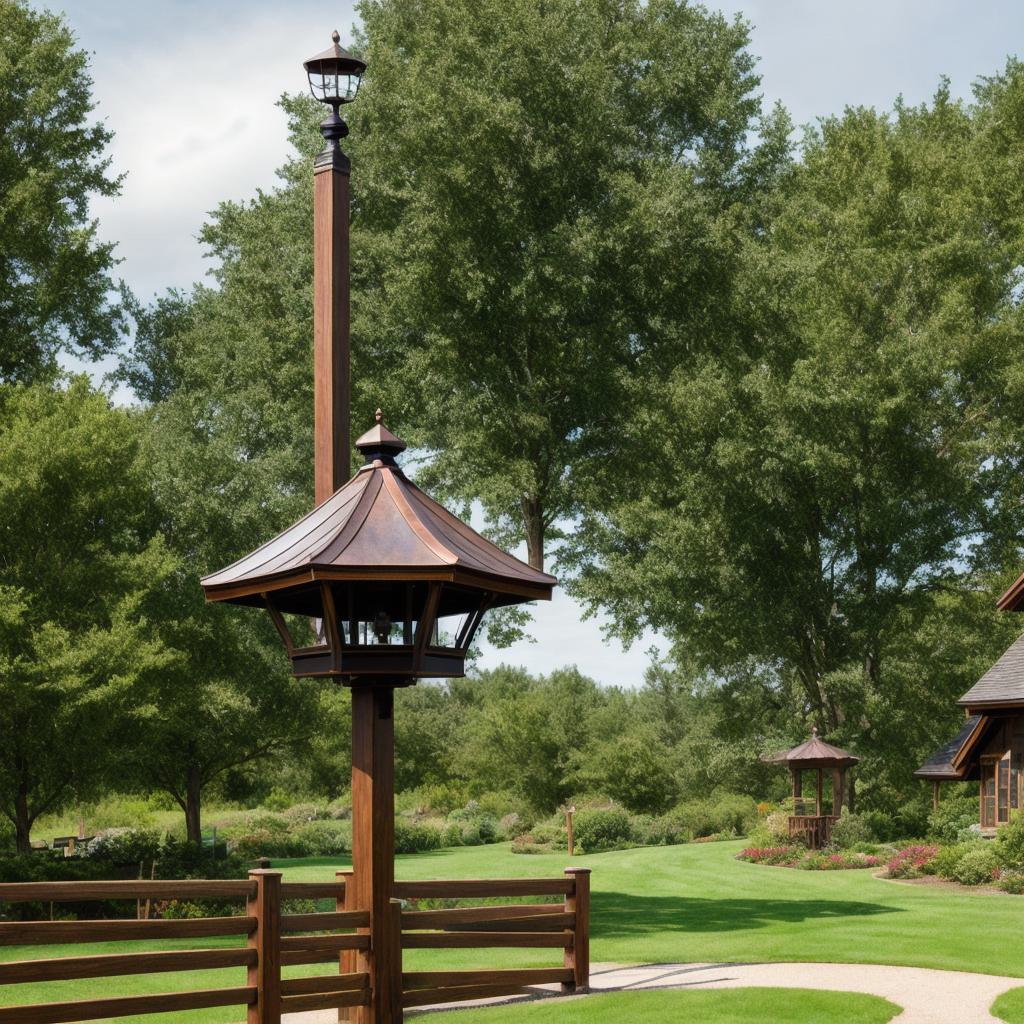
The next step is to choose the perfect location for your weathervane. Weather vanes are typically installed on the roof of a building, and the location should be chosen based on wind direction and visibility. Ideally, your weathervane should face into the prevailing wind, so it can turn easily as the wind changes direction. Additionally, make sure that the location is visible from both the front and back of your home, as well as any other areas where you want to showcase your new addition.
- Gather the Necessary Tools and Materials
Before beginning the installation process, gather all the necessary tools and materials. This may include a ladder or scaffolding, a drill or saw, a level or tape measure, and any specialized hardware required for mounting your weathervane. If you’re unsure what tools or materials you’ll need, consult with a professional installer or do some research online to find the right equipment for the job.
- Install the Bracket and Post
The next step is to install the bracket and post for your weathervane. The bracket will typically be attached to the roof of your home using specialized hardware, such as bolts or screws. Once the bracket is in place, the post can be installed, connecting the two. Make sure that everything is level and secure before moving on to the next step.
- Install the Weathervane
Once the bracket and post are in place, it’s time to install the weathervane itself. This may involve assembling the weathervane on-site or attaching it to a pre-assembled frame. Make sure that everything is securely fastened and that the weathervane is properly aligned with the wind direction.
- Finishing Touches
Once your weathervane is installed, add any finishing touches such as painting or staining. This will not only protect the material from the elements but also enhance its overall appearance.
- Maintenance and Care
Finally, remember to maintain and care for your weathervane regularly. This may include cleaning it periodically to remove dirt or debris, and checking for any loose screws or hardware. By taking good care of your weathervane, you can ensure that it lasts for years to come.
FAQs:
Q: What materials are used to make weather vanes?
A: Weather vanes are typically made from a variety of materials such as metal, wood, or even plastic.
Q: How long does it take to install a weathervane?
A: The installation process can vary depending on the size and complexity of the weathervane, but it typically takes between 2-4 hours to complete.