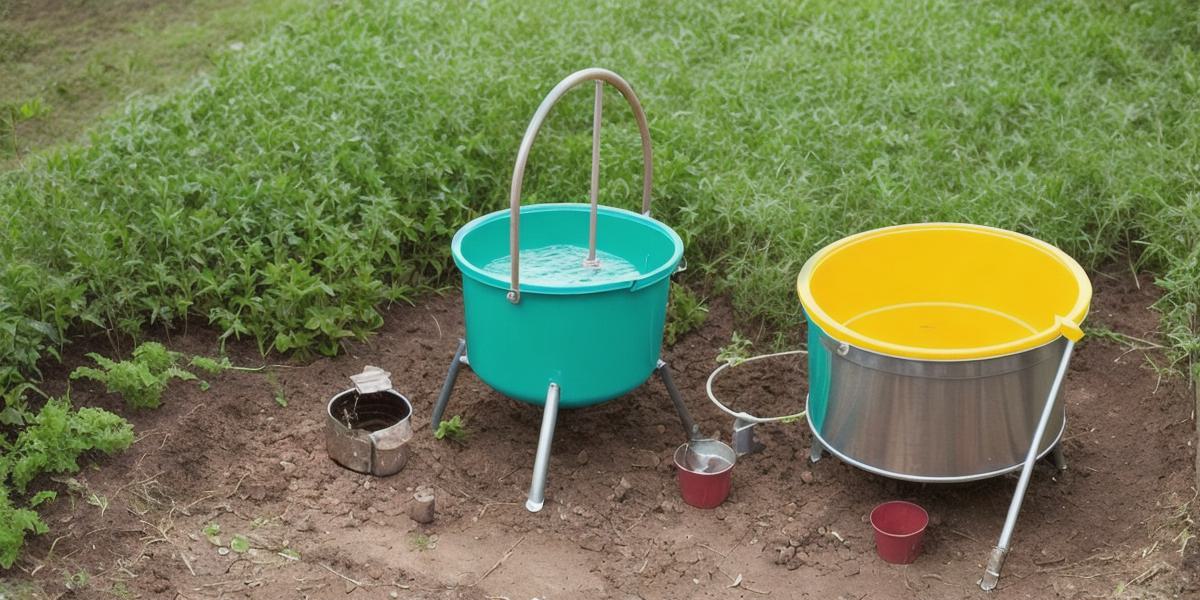
Pigs are social animals that require regular interaction with their human caretakers, as well as access to fresh water at all times. While there are many commercial pig waterers available on the market, building your own DIY pig waterer can be an affordable and fun project. This article will guide you through the process of creating a safe and effective pig watering system that meets your pig’s needs.
Materials Needed:
To build a DIY pig waterer, you will need the following materials:
- 5-gallon bucket with a spout

- PVC pipe (1/2 inch diameter)
- PVC elbows and tees
- PVC primer and cement
- Waterproof hose clamps
- Hose (optional)
- Tape measure
- Saw or PVC cutter
- Drill and 1-inch drill bit
- Sandpaper
- Watering dish or trough
Steps to Build a DIY Pig Waterer:
Step 1: Measure the area where you want to build the pig waterer. You will need enough space for the bucket, pipe, and watering dish. Make sure the area is flat and level.
Before starting any construction, it is essential to measure the area where you plan to install the pig waterer. The size of your pig’s pen or enclosure should accommodate a 5-gallon bucket, pipe, and watering dish. It is also important to ensure that the area is flat and level to prevent water from spilling or pooling.
Step 2: Cut the PVC pipe according to your measurements. Use a tape measure and saw or PVC cutter to ensure that the pieces are accurate.
Once you have measured the area, cut the PVC pipe into the appropriate length using a saw or PVC cutter. Make sure that the pipes are cut accurately to avoid any leaks or unnecessary waste of water.
Step 3: Arrange the PVC pipes in a configuration that allows water to flow from the bucket to the watering dish. You can use elbows, tees, and connectors to create curves and angles. Make sure that the pipe is at least 12 inches above the ground to prevent pigs from drinking directly from the source.
After cutting the PVC pipe, arrange it in a configuration that allows water to flow from the bucket to the watering dish. You can use elbows, tees, and connectors to create curves and angles. It is important to ensure that the pipe is at least 12 inches above the ground to prevent pigs from drinking directly from the source. This prevents contamination of the water and ensures that the pigs get a consistent water flow.
Step 4: Apply PVC primer and cement to all the joints where the pipes will be connected. Allow the cement to dry according to the manufacturer’s instructions.
Once you have arranged the PVC pipes, apply PVC primer and cement to all the joints where the pipes will be connected. This will prevent any leaks or damage to the pipes caused by moisture or wear and tear. Make sure to follow the manufacturer’s instructions for applying the cement and allow it to dry properly before proceeding to the next step.
Step 5: Attach the bucket to the pipe using waterproof hose clamps. Make sure that the spout of the bucket is at the correct height for your pig to reach.
After the primer and cement have dried, attach the 5-gallon bucket to the PVC pipe using waterproof hose clamps. Make sure that the spout of the bucket is at a height that your pig can easily reach. This will allow pigs to drink from the bucket without having to bend down too much, which can cause discomfort or injury.
Step 6: Connect the pipe to the watering dish or trough using elbows and tees. Ensure that the connection is secure and water flows freely. If you are using a hose, attach it to the end of the PVC pipe.
After attaching the bucket to the pipe, connect the pipe to the watering dish or trough using elbows and tees. Make sure that the connection is secure and water flows freely without any leaks. If you are using a hose, attach it to the end of the PVC pipe. This will allow pigs to drink from the trough or watering dish as needed.
Step 7: Test the pig waterer by filling the bucket with water and turning on the tap if necessary. Check for any leaks or issues and make adjustments as needed.
Once you have completed the construction, test the pig waterer by filling the bucket with water and turning on the tap if necessary. Check for any leaks or issues and make adjustments as needed. If everything is working correctly, your DIY pig waterer is ready to use!
Safety Measures:
When building a DIY pig waterer, it is essential to prioritize safety measures. Here are some tips to keep your pigs safe and healthy:
- Use non-toxic PVC materials that are specifically designed for animal use.
- Ensure that the pipes are securely fastened and not easily dislodged by pigs or other animals.
- Keep the area around the pig waterer clean and free of debris to prevent injury or illness.
- Check the water regularly for any signs of contamination or stagnation, and clean it as needed.
- Provide adequate access to fresh water at all times.
Summary:
Building a DIY pig waterer can be an affordable and fun project that provides a safe and effective way to keep your pigs hydrated. By following these simple steps, you can create a customized watering system that meets your pig’s needs while keeping them happy and healthy. Remember to prioritize safety measures and clean your DIY pig waterer regularly to ensure its effectiveness. With the right tools and resources, building a DIY pig waterer is an excellent way to enhance your pig’s well-being and enjoyment of life on your farm.


