How to Make Your Own Talking Stick
: A Step-by-Step Guide for Creating an Effective Communication Tool
Are you tired of unproductive meetings or ineffective brainstorming sessions? Do you want to improve communication within your team or organization? Look no further than the talking stick. This ancient tool has been used for centuries to facilitate group discussion and decision-making, and it’s easy to make your own. In this step-by-step guide, we will walk you through the process of creating a talking stick that will help you communicate more effectively.
What is a Talking Stick?
Before we dive into the steps for making your own talking stick, let’s first understand what it is and how it works. A talking stick is a simple yet powerful tool used to facilitate group discussion and decision-making. It can be made from almost any natural material, such as wood, stone, or bone, and often has a knot or a carving on the end that signifies its purpose.
The idea behind the talking stick is that it gives each person in the group an equal opportunity to speak and be heard. The person holding the stick speaks first, and then passes it on to the next person, who continues the conversation until the stick reaches the end of the circle. This allows for a more organized and respectful exchange of ideas, ensuring that everyone has a chance to contribute.
The Benefits of Using a Talking Stick
Using a talking stick can have numerous benefits in both personal and professional settings. Here are just a few:
1. Improved communication: By giving each person an equal opportunity to speak, the talking stick encourages active listening and open dialogue. This can lead to better understanding and more effective problem-solving.
2. Increased productivity: Talking sticks can help you stay on track during meetings and brainstorming sessions, ensuring that all ideas are heard and discussed without getting sidetracked.
3. Enhanced decision-making: The talking stick encourages group discussion and collaboration, which can lead to more informed and thoughtful decisions.
4. Increased respect: By giving each person an equal opportunity to speak, the talking stick promotes a sense of respect and inclusivity within the group.
How to Make Your Own Talking Stick
Now that you understand the benefits of using a talking stick let’s walk you through the process of making your own. Here are the steps:
Step 1: Choose Your Material
The first step in creating your talking stick is to choose your material. You can use almost any natural material, such as wood, stone, or bone. Here are a few tips for choosing your material:
* Wood: Wood is a popular choice for talking sticks because it’s readily available and easy to work with. Look for a piece of wood that is smooth, hard, and has a good grip. You can also choose the type of wood based on its cultural or spiritual significance. For example, oak is often used in Native American ceremonies, while cedar is commonly used in Japanese Zen practices.
* Stone: Stone can also be used for talking sticks, but it’s important to choose a stone that is smooth and easy to hold. You can also use stones of different colors or shapes to make your stick more visually appealing.
* Bone: Bone is another option for talking sticks, but it’s important to use a bone that is clean and free of contaminants. You can also carve or knit designs on the bone to make it more meaningful and personal to your team.
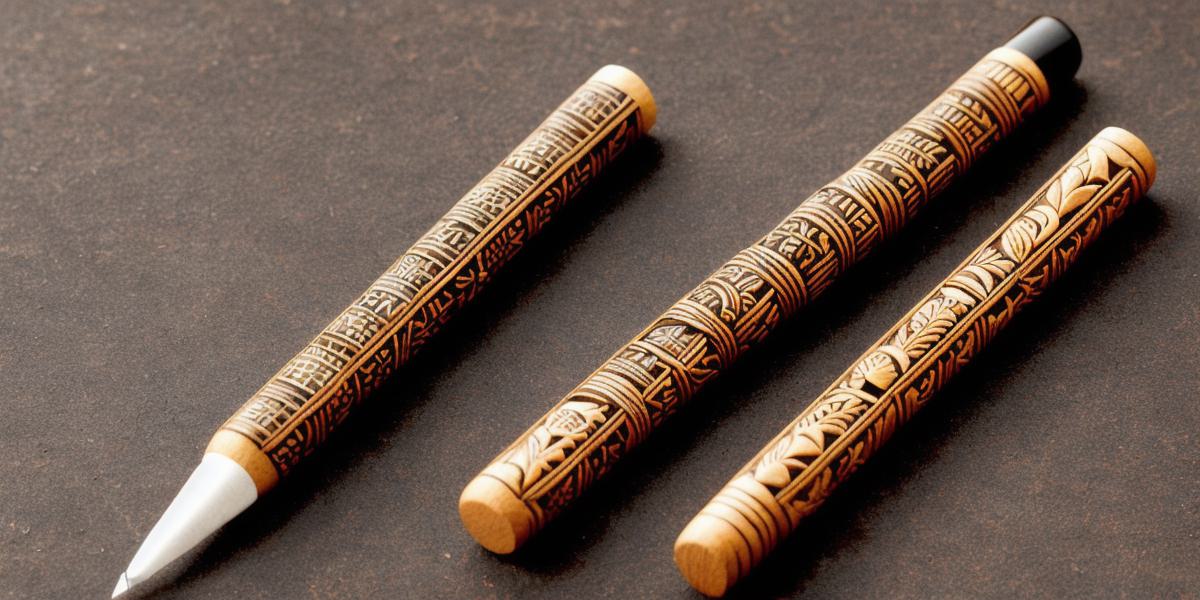
Step 2: Carve or Knit Your Stick
Once you have chosen your material, the next step is to carve or knit your stick. This can be done by hand or with a machine, depending on your preference and skill level. Here are a few tips for carving or knitting your stick:
* Keep it simple: The purpose of the talking stick is to facilitate communication, so keep your design simple and easy to understand. Avoid using complex symbols or designs that may be difficult to interpret.
* Add meaning: Consider adding a symbol or carving that represents your group or organization. This can make the talking stick more meaningful and personal to your team. For example, if you are making a talking stick for a school, you could add a carving of an owl or a tree to represent wisdom and growth.
Step 3: Sand and Finish Your Stick
After you have carved or knitted your stick, it’s time to sand and finish it. Sanding will smooth out any rough edges and make the stick comfortable to hold.