As with any piece of equipment, removing a broken snap ring can be a delicate process. If done incorrectly, it could cause further damage to the equipment or even put your safety at risk. In this article, we will provide you with a step-by-step guide on how to safely remove a broken snap ring from your equipment.
Step 1: Gather Your Tools
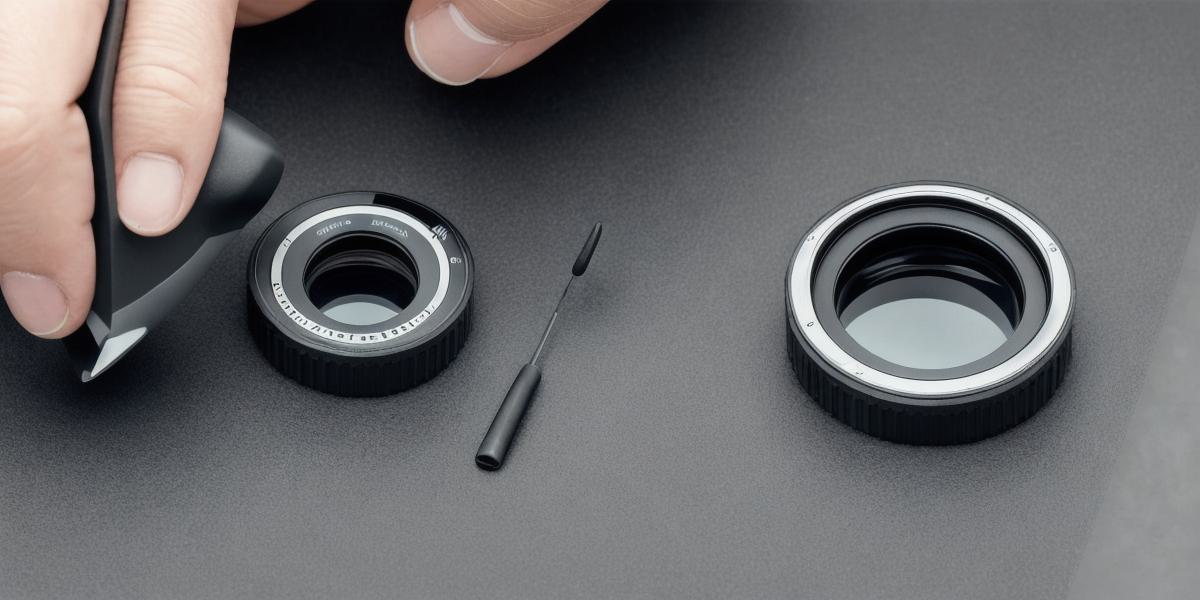
Before attempting to remove a broken snap ring, make sure you have all the necessary tools on hand. You will need a pair of pliers, a flat-head screwdriver, and possibly a set of lock-picking tools. It is also recommended that you wear protective gear such as gloves and eye protection to prevent injury.
Step 2: Identify the Broken Snap Ring
Identify the location of the broken snap ring by looking for any visible damage or deformities. If you are unsure, refer to the manufacturer’s manual or contact customer support for assistance.
Step 3: Prepare Your Work Area
Clear your work area and lay down a clean, flat surface. This will help prevent any further damage to the equipment or yourself. It is also important to make sure that you have good lighting in the area.
Step 4: Use Pliers to Loosen the Broken Snap Ring
Using pliers, carefully loosen the broken snap ring by applying pressure on either side of the damaged section. Be careful not to apply too much force as this could cause further damage to the equipment or even break the snap ring completely.

Step 5: Use a Flat-Head Screwdriver to Remove the Broken Snap Ring
Once the snap ring has been loosened, use a flat-head screwdriver to gently remove it from the equipment. Be sure to keep your fingers away from any sharp edges or moving parts. It is important to move slowly and deliberately to avoid causing any further damage.
Step 6: Replace the Broken Snap Ring (Optional)
If you are replacing the broken snap ring, follow the manufacturer’s instructions carefully. Make sure that the new snap ring is properly seated and aligned before tightening it with pliers.
Step 7: Test Your Equipment
After removing or replacing the broken snap ring, test your equipment to ensure that it is functioning properly. If you are unsure, refer to the manufacturer’s manual or contact customer support for assistance.
FAQs
Q: Can I use any type of pliers to remove a broken snap ring?
A: While pliers can be effective in removing a broken snap ring, it is recommended that you use lock-picking tools specifically designed for this purpose. These tools are less likely to cause damage to the equipment or yourself.
Q: What if I accidentally break the snap ring completely while trying to remove it?
A: If you accidentally break the snap ring completely, you may need to replace it. Refer to the manufacturer’s manual or contact customer support for assistance on how to properly replace the broken snap ring.